If you are planning to organize a magic potions activity for a group of children, this article will help you optimize the experience. You'll find tips to extend the fun, simplify cleanup, and ensure the smooth running of the activity. Hosting a potion-making activity for a group requires good preparation, but I assure you it's worth it. I guarantee your young sorcerers will be enchanted by the activity, and often, so will the parents! How many times have I seen a parent subtly add a spoonful of magic dust to their child's potion...
Table setup
For a successful activity, preparing the play area is essential. In addition to adding a lot of magic to the event, you will extend the enjoyment for your young sorcerers. Here are some tips for creating an exceptional potion table.
Mess is inevitable when a child is concocting magical potions, so imagine when eight of them are having fun at the same time! To simplify the cleanup, protect the workspace with a waterproof tablecloth or brown kraft paper. Even better, if the weather allows, take the activity outside! This way, you can let the kids have the messy fun (a big part of their enjoyment) without worry. Afterwards, bring out the garden hose to easily clean the play surface.

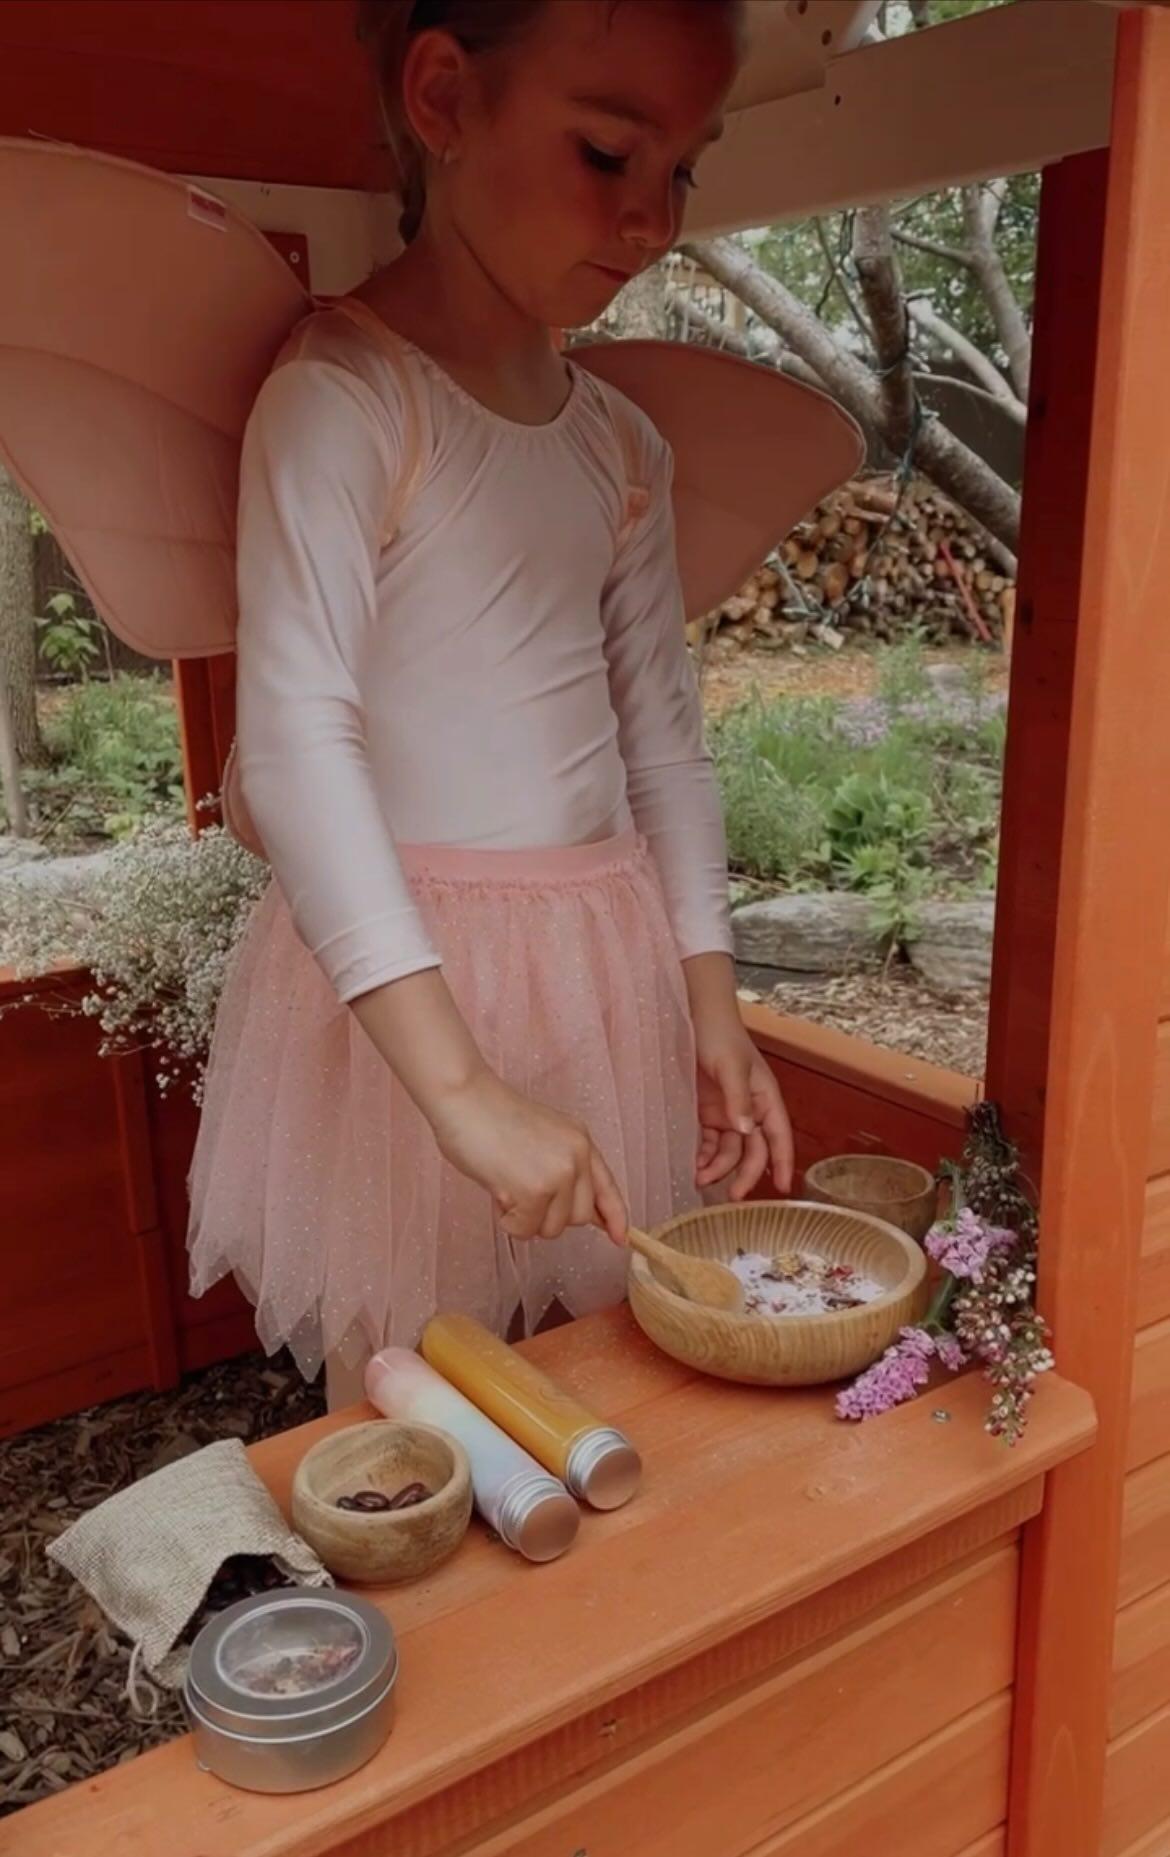
Ideally, each child should have a potion bowl, a container of water, and a small spoon. For optimal results, a bowl with a diameter of 3-4 inches is recommended. Mason jars work well for holding water. As for spoons, I recommend the smallest ones you have. They'll only need a small amount of ingredients to trigger a magical reaction. If the spoons are too big, your young wizards may quickly use up all the ingredients. For the small sachets, it's best to pre-portion them among the children. This way, each child will have their own personal playing field to experiment with magic at their own pace.

In addition to the ingredients in the kits, you can add your own elements to extend the activity. At the center of the potion table, include 2-3 additional containers of water (e.g., pitcher, bowl, glass, etc.). You can color the water with food coloring to transform it into troll slobber or vampire blood. For more bubbles, add 1-2 drops of dish soap to these containers. Also at the center of the table, have fun adding other types of ingredients such as beans, dried flowers, rice, tree cones, etc. For this part, you could even involve your young wizards by inviting them to gather magical ingredients outside. Feel free to place these ingredients in different containers on the table to capture the interest of your young sorcerers. Finally, provide them with various utensils and tools (whisk, pestle, ladle, spatula, funnel, small strainer, etc.). I guarantee they will have a lot of fun exploring all of them.
Activity Flow
To ensure the potion activity goes smoothly, your apprentice sorcerers will need some initial instructions. Therefore, I recommend that a wizard instructor leads the first part to ensure the activity starts off on the right foot. Here are some of these instructions.
Adult supervision is essential for the smooth progression of the activity. Having facilitated several, I would recommend one adult per 4 wizards if you want to maintain control. Children can quickly get carried away, and messes can happen rapidly. To minimize messes, instruct them to add only one or two spoonfuls of water or ingredients at a time.
One of the most important guidelines is not to consume the ingredients. Although they are non-toxic, they may taste very unpleasant, and we wouldn't want your young wizards to transform into toads. You can also mention that the ingredients at the center of the potion table are for the second part of the activity. This way, they will be focused on the kit instructions to start.
For the first part, I recommend that the wizard instructor guides the activity using the instruction cards from the potion kit. For added magic, have fun dressing up in wizard or fairy costumes! Once the potion instructions are completed, let the children have fun with the remaining ingredients. The more they add, the more potent the potion will become! They will enjoy transferring their mixture to other containers, crushing ingredients with their pestle, or whisking their concoction to create new bubbles.

After the activity
The magic activity doesn't have to stop once the potion is completed! Here are some ideas of things to do with the mixture once your wizards are finished.
The potion can be poured outside to attract fairies and other mystical creatures to your garden. They will be drawn to the powerful magic emanating from it and its enchanting scent. The ingredients are 100% biodegradable, so it's safe for the environment. Let your child choose their favorite tree under which they can pour their mixture. Invited children can also take their mixture home to invite fairies into their own backyard.
Filter the liquid and freeze it to reuse throughout the summer. It will make a fantastic base for fairy soup with its vibrant and shiny colors. Your child will have fun adding ingredients found in your garden. Mine love adding flowers, mud, or small rocks.
And there you have it! I believe you have all the information needed to organize a fabulous magical potion activity. I hope your young wizards have a lot of fun, and feel free to share your feedback with me once the activity is completed!
Emilie